


?")


")


How to take better travel photos with your phone
- 4G/5G SIM and best esim Australia and New Zealand: How to get, Speed, Coverage & MORE
- Best travel SIM Europe: Europe tourist SIM (4G/5G SIM, eSIM) & Roaming Tips
- All you need to know about T-Money Card: Price, How to get, Top-up, Use, Refund & MORE
- Everything about Singapore Tourist SIM: Types, How to get, use, Tips & MORE
- All about US travel SIM card: Where to buy, how to use & best US SIM card for tourists
Gone are the days of lugging around a giant DSLR camera when you’re on vacation. These days, anyone with a smartphone can take professional-quality photos, and there are a ton of editing apps to make your photos look straight out of a magazine spread. Wondering where to start? We asked our editors and favorite Instagram photographers to tell us how they get the perfect shot every time, as well as what apps they couldn’t live without. Here are 11 iPhone photography tips and tricks you need to know.
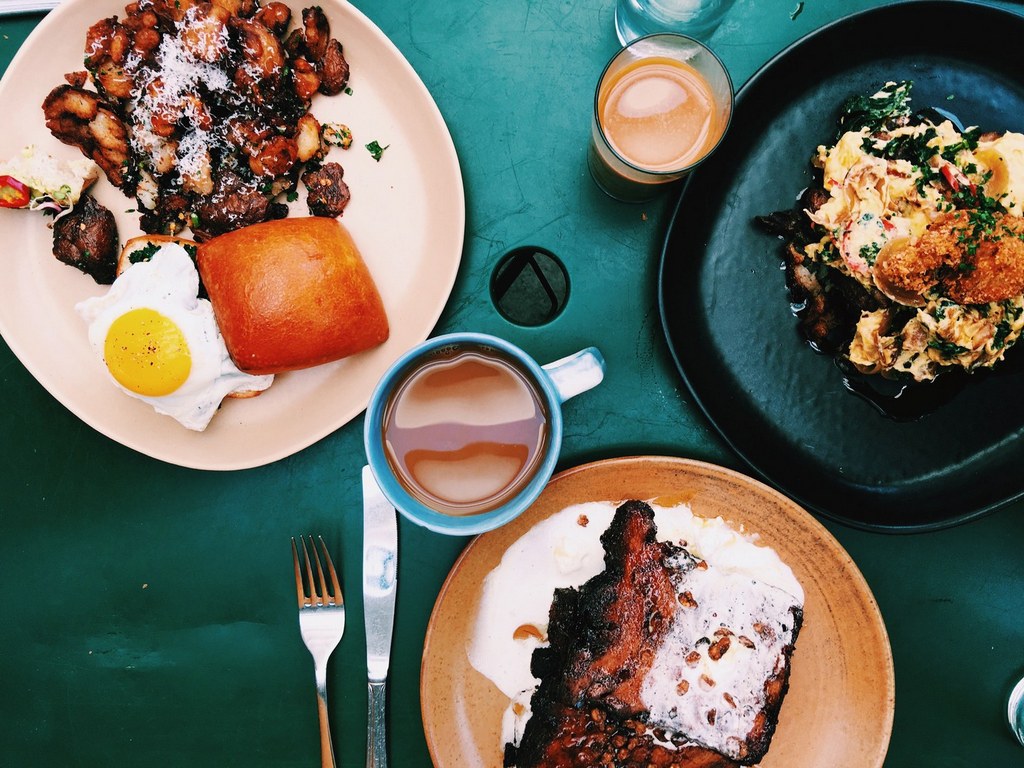
When photographing food, get a bird’s-eye view: “Our friends at Bon Appétit said it best: ‘For the most flattering perspective, shoot only from directly above.’ I took this photo at Superba Food & Bread in Los Angeles, and I edited it using the VSCO app (filter: C1).”
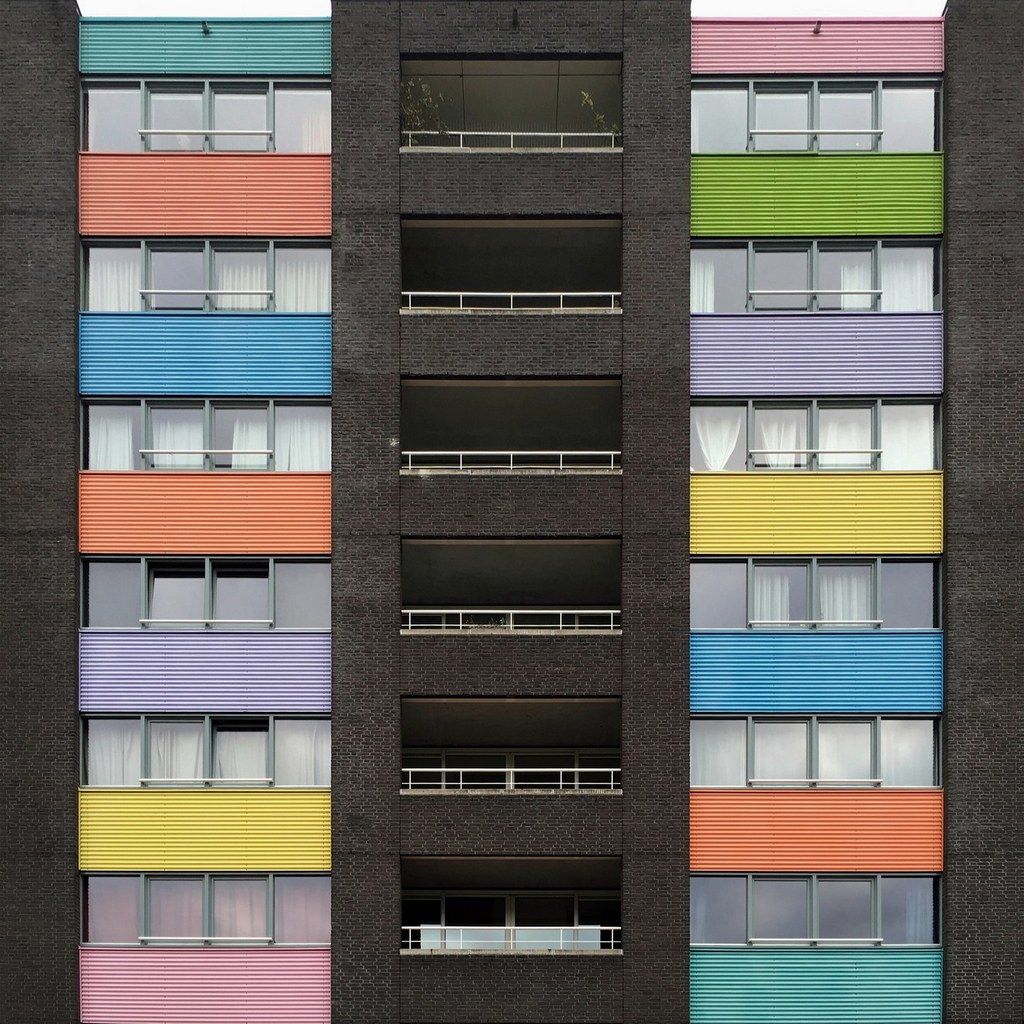
Don’t be afraid to saturate color: “I always try to incorporate my love for graphic design when composing a photo. This is a simple but strikingly colorful facade on Java-eiland in Amsterdam. To perfectly fit the square format, I resized the photo. I also did some perspective correction with the Skrwt app and color adjustments in Snapseed.”
Capture the real life moments: “I was drawn to these scenes because they reflect moments similar to what I would experience in the western world, but each have elements that are unique to Myanmar. In the first, a girl with her face distinctly painted with the Burmese traditional Thanaka sits on a stool next to her family’s food stall. In the second (see next slide), a vendor in an open market is so focused on organizing her betel leaves that she doesn’t even seem to notice me.”
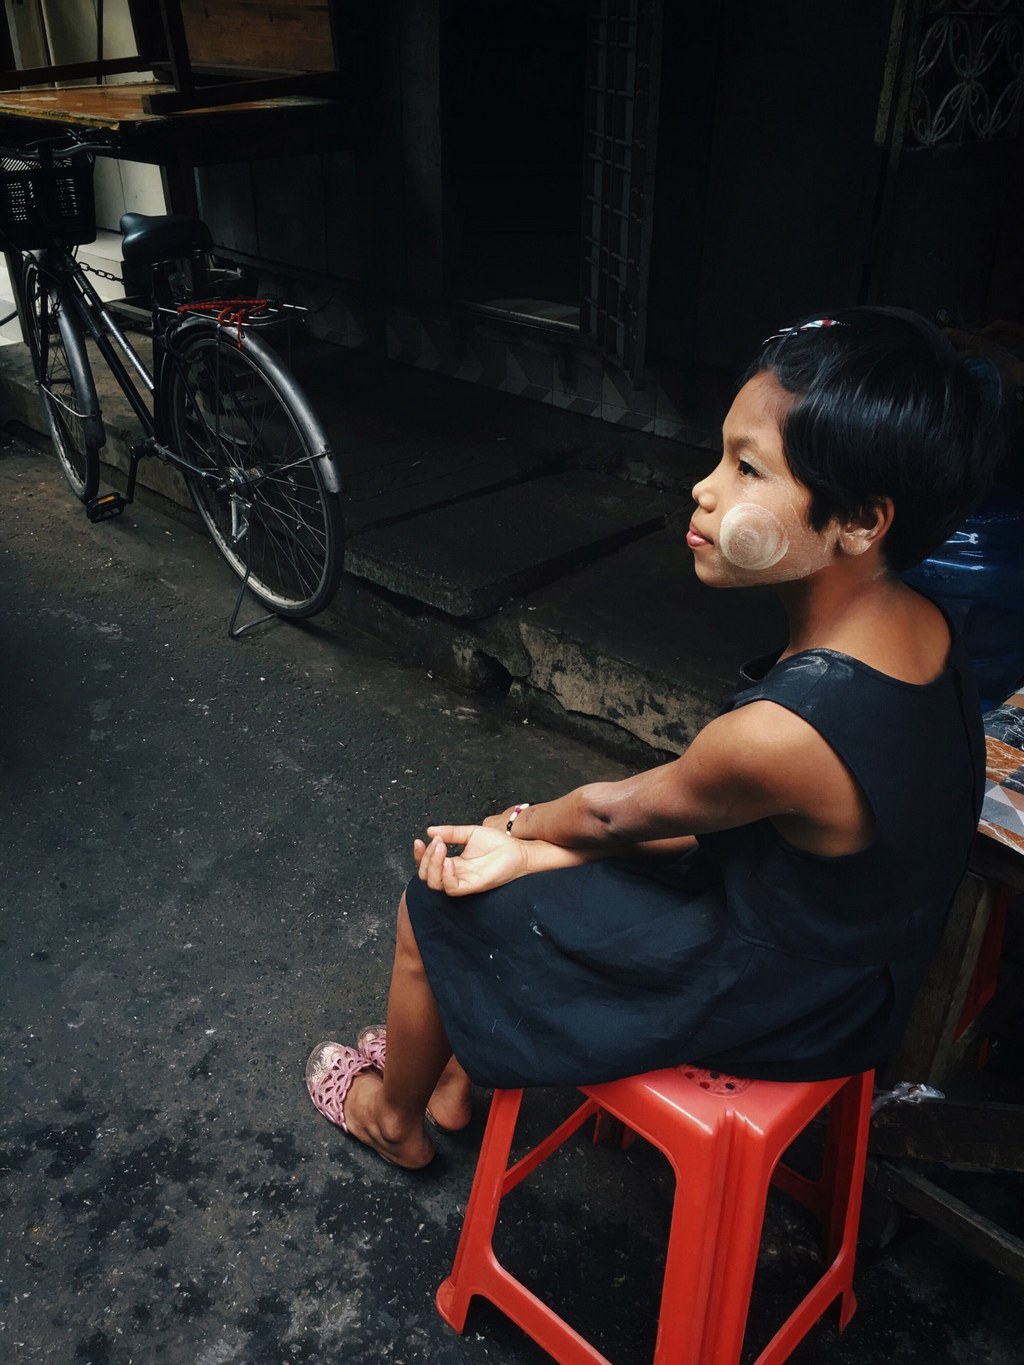
See previous slide. Images shot on iPhone 6s Plus and edited with Priime and Snapseed, with minor use of Touch Retouch.
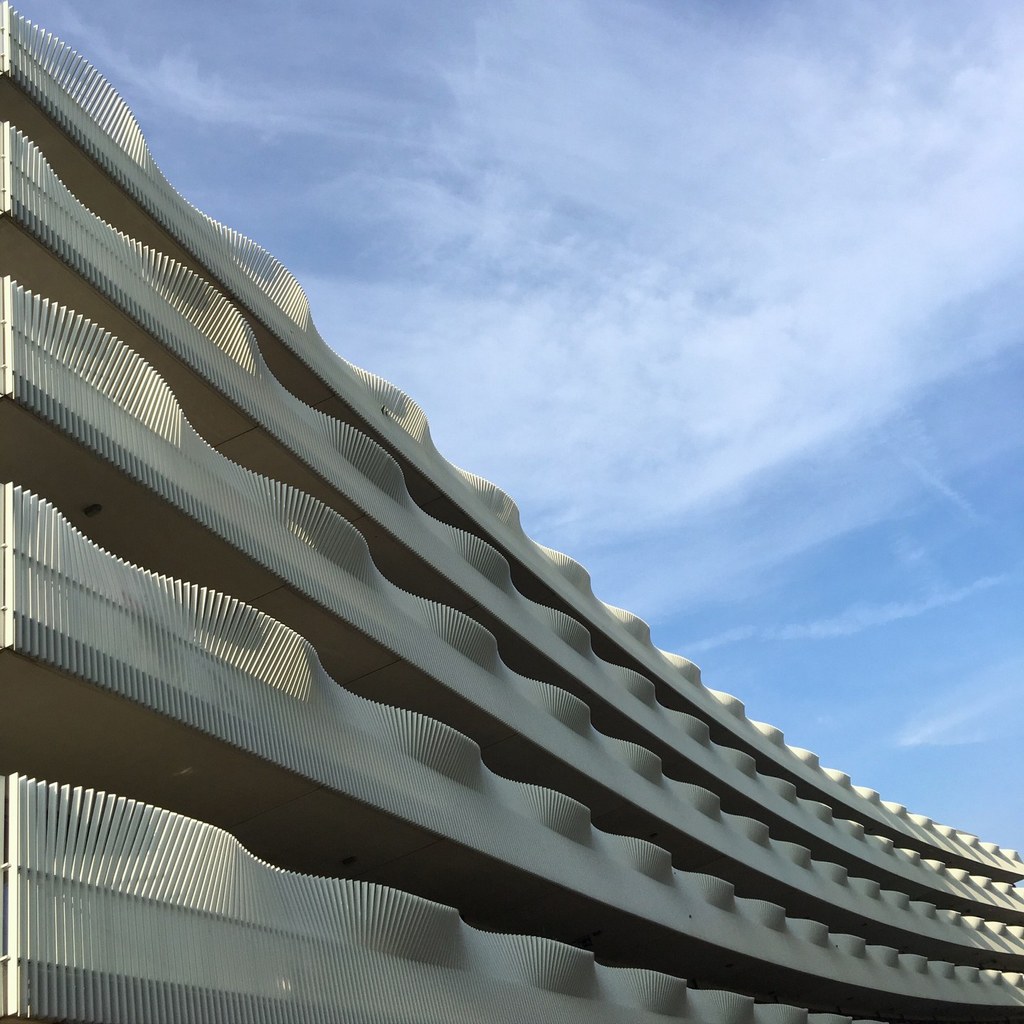
Look for the details: “I always try to create an abstraction of a building. This angle showed the beautiful waves of the building almost completely. I first used the AE/AF lock on my iPhone camera (tap and hold down the viewfinder) to be sure I had the exposure right for the building against the sky, and then used Skew to line up the left side vertically, with some final color adjustments in Camera+.”
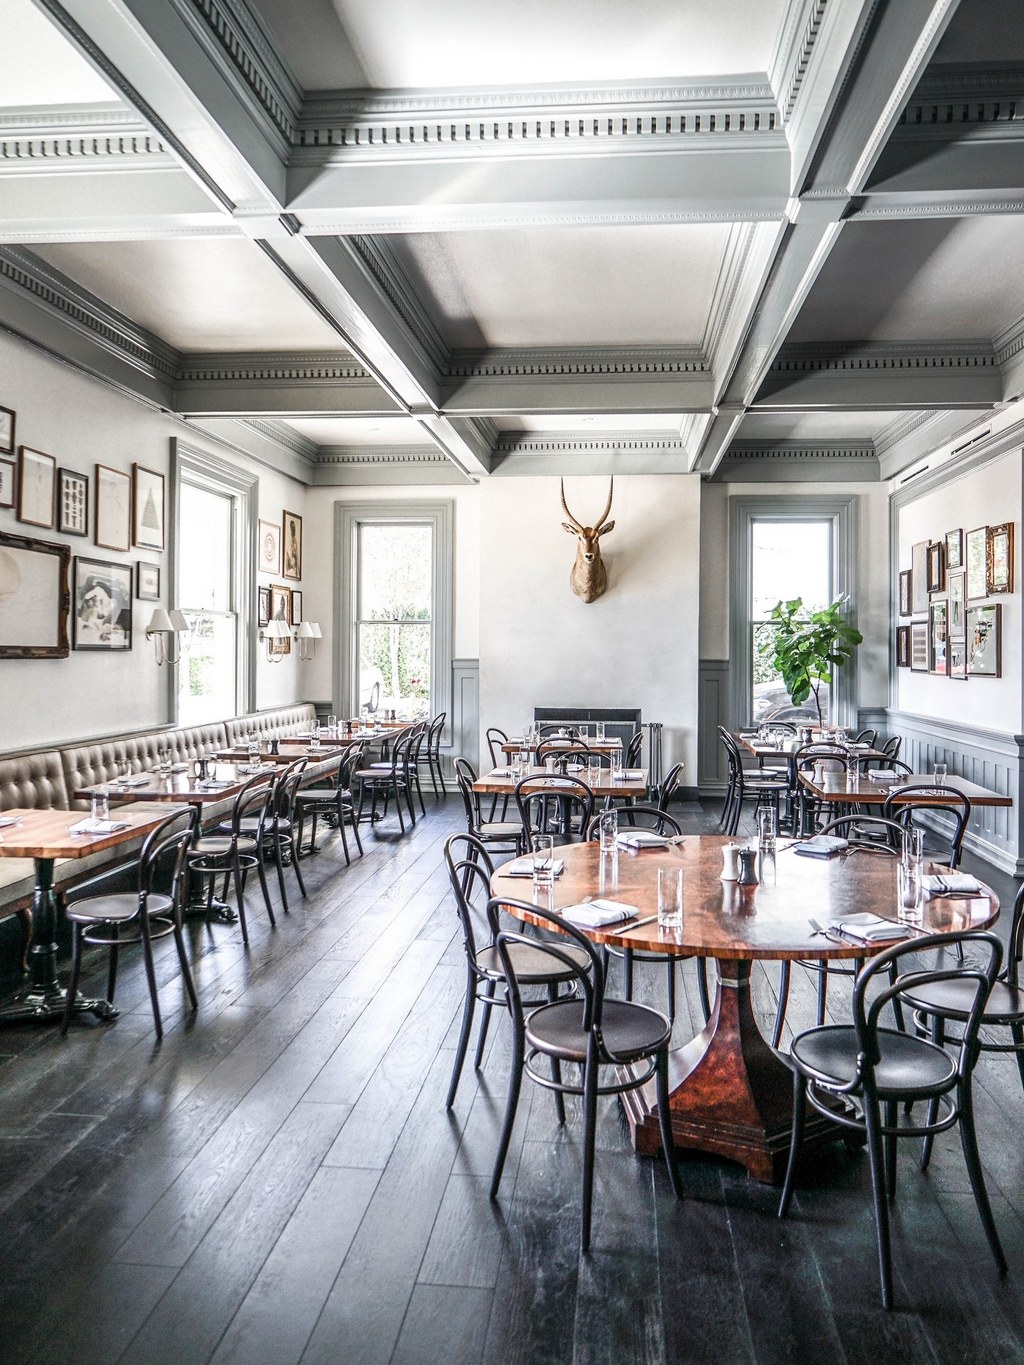
When shooting indoors, find the light: “I love the light filled interiors at the historic Hotel Ella in Austin, TX. When shooting interior photography, make sure that the space has plenty of natural light. A few Instagram editing tips: “Adjust” your photo to make sure everything is inline and even; adjust the brightness and shadow to make the image feel bright and airy. And one of my favorite tools on Instagram is the Structure feature—this will add a level of depth and clarity.”
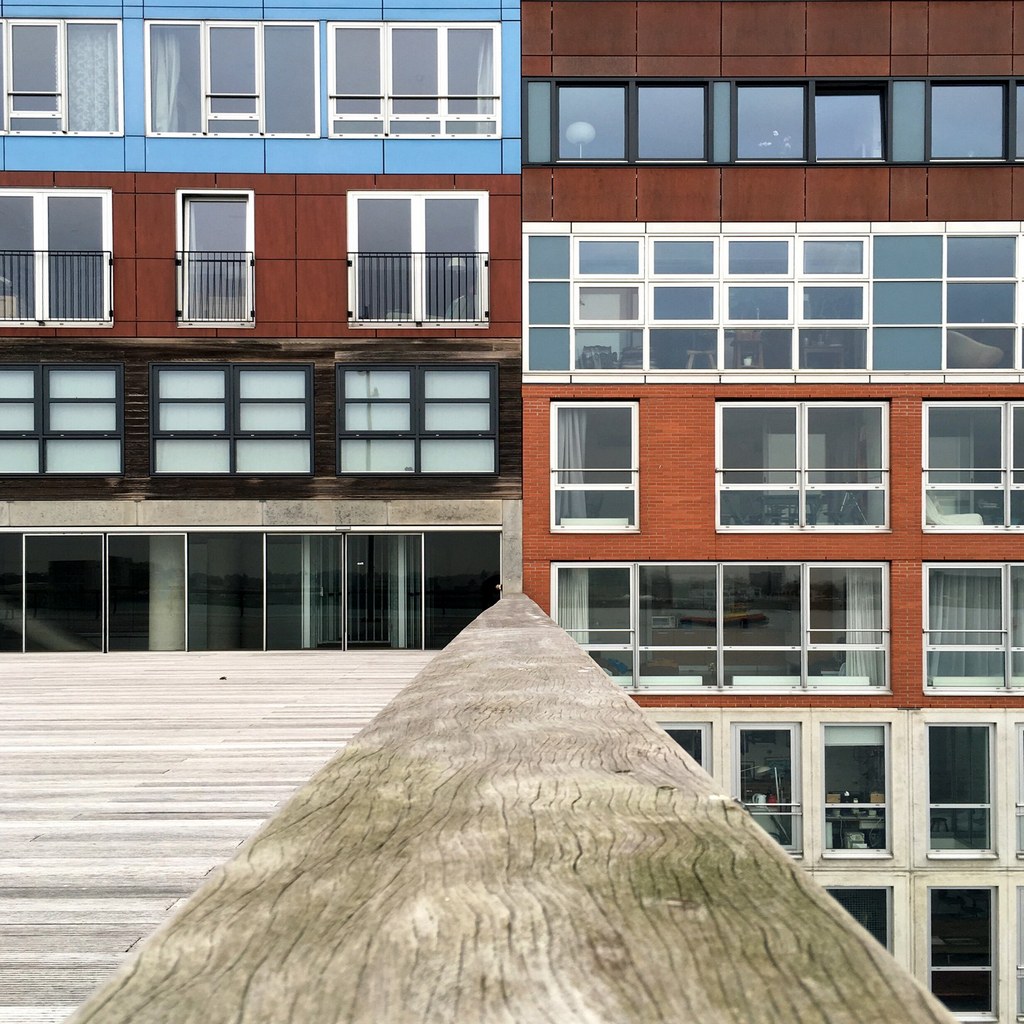
Experiment with angles and perspective: “For me, it’s all about the love of lines, shapes, form, layouts and patterns. This shot of the beautiful Silodam in Amsterdam by Mvrdv architects was created by positioning my iPhone 6s on the wooden railing of the waterfront terrace and finding just the right perspective to balance the lines. When I had the shot just where I wanted it, I used the volume button to trigger the shutter because of how my hands were positioned. I used Skrwt to correct some of the perspective and then made final color adjustments with Enlight.”
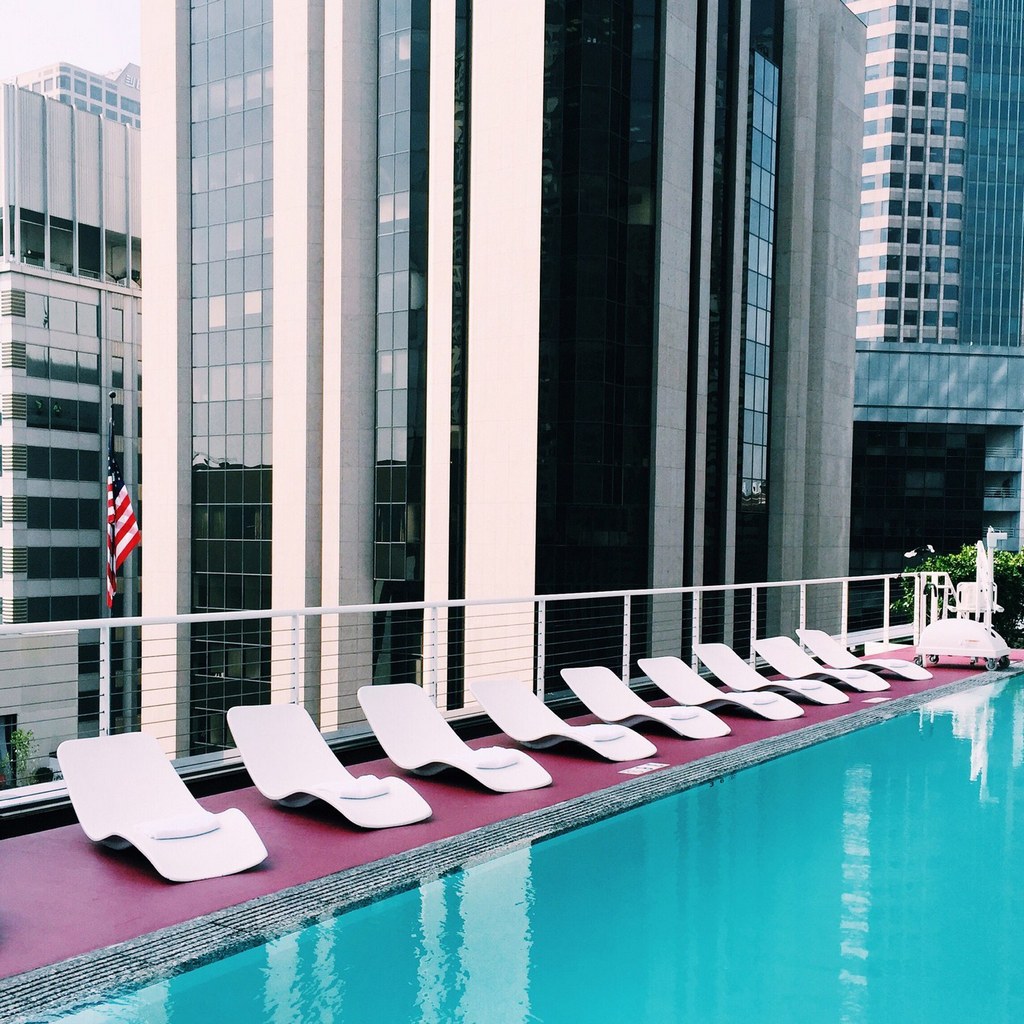
Look for contrasting subjects: “I’m a sucker for great rooftops, and even more so for great rooftop pools. I popped into The Standard hotel in Los Angeles for lunch on the rooftop between meetings in DTLA, and took advantage of being the first one at the restaurant to snap a photo of the empty pool nestled between all of the skyscrapers. I edited it with VSCO: I used the C1 filter, and increased both the exposure and the contrast.”
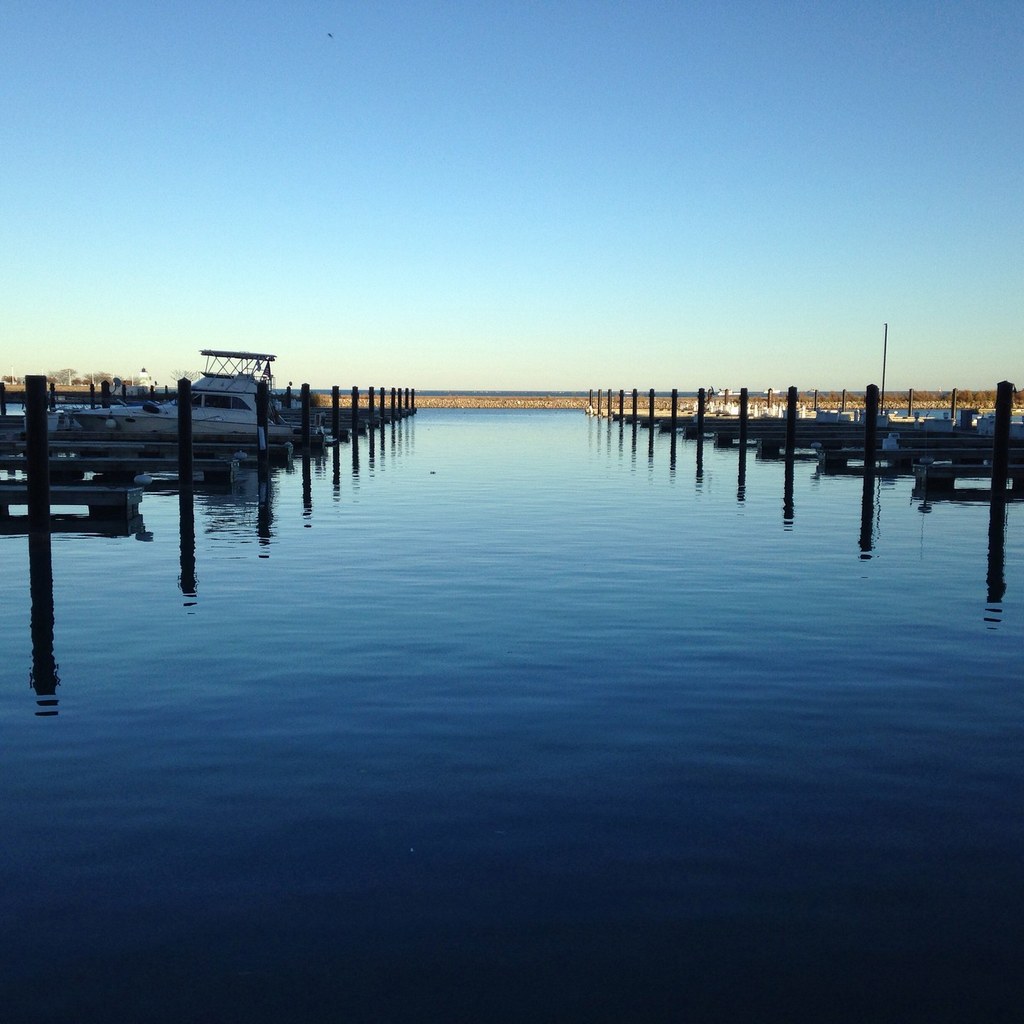
Sunset is called the “magic hour” for a reason: “This photo was taken in one of those instances where the light was just perfect. The sun was low in the sky and creating a beautiful, calm reflection on Lake Michigan. When you find well dispersed, soft light (usually at sunrise, sunset, or even overcast days), you don’t need to make tons of adjustments. I just straightened the horizon line a small amount using Instagram’s in-app editor.”
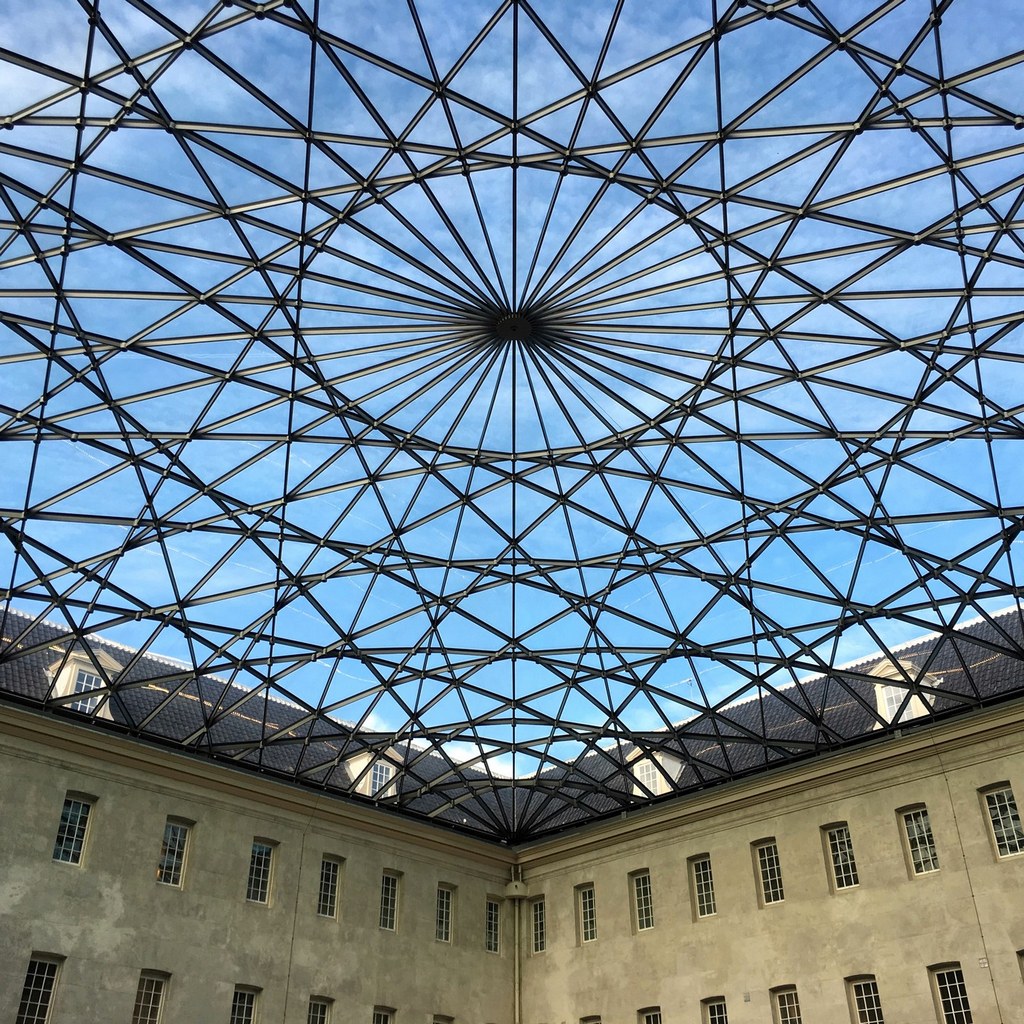
Use your camera grid: “The very stunning courtyard roof of the National Maritime Museum in Amsterdam is an artwork by itself! Strikingly shaped by the compass lines of old water maps, all I had to do was find the right position to line it up perfectly. To keep my compositions lined up as cleanly as possible I always have the grid on in the native camera app. Afterwards I did some light edits using Skrwt and Photogene4.”
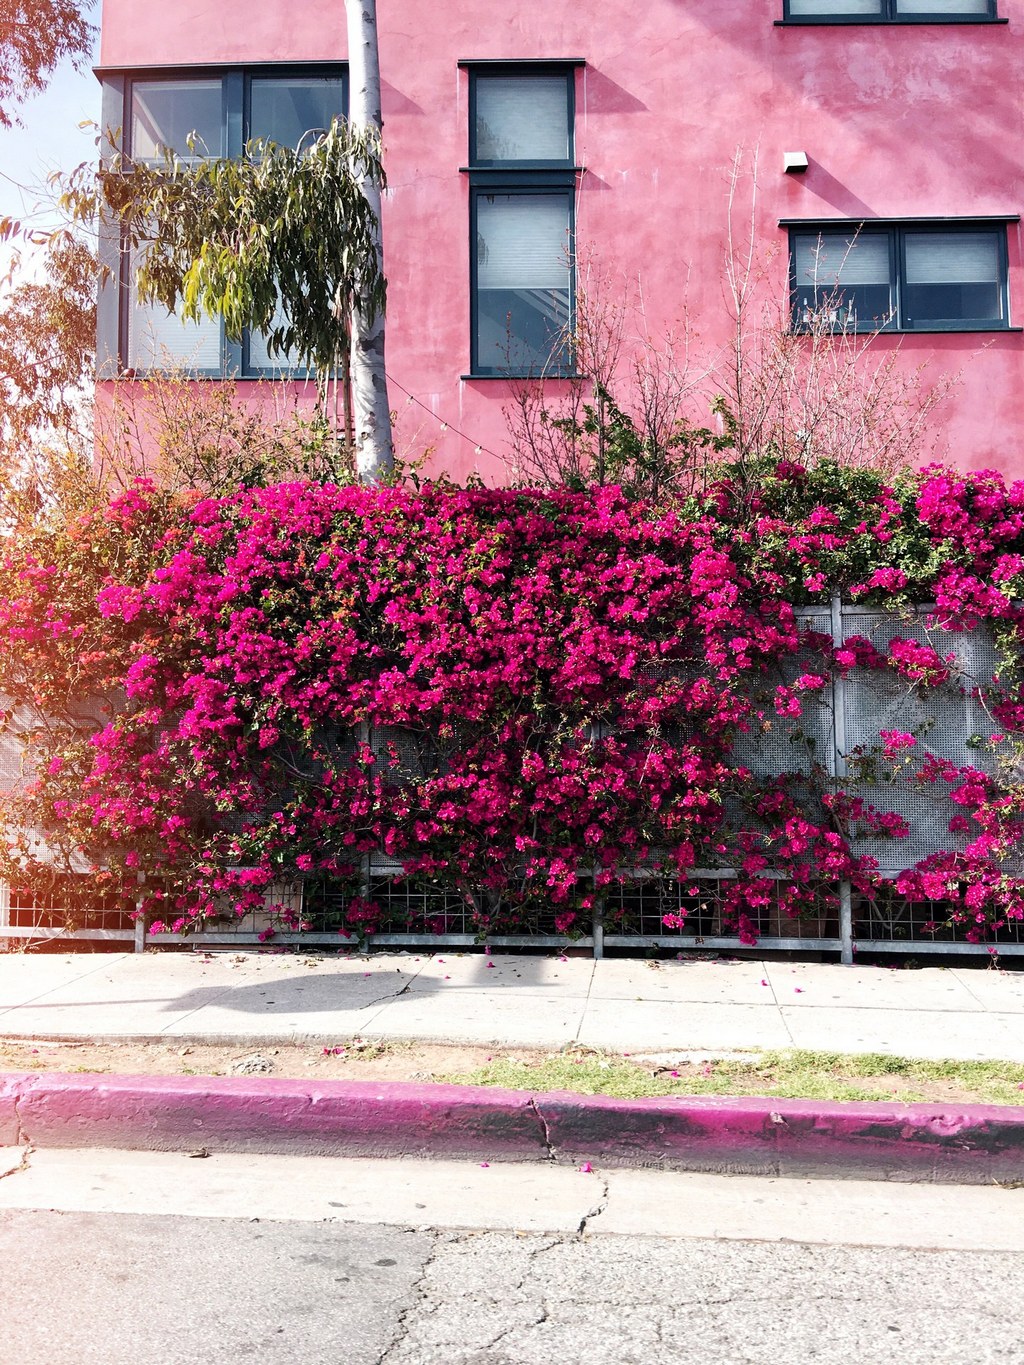
Play with color! “This was just an average-looking wall in Los Angeles, but after increasing the color vibrancy and playing around with filters on editing app A Color Story (my new favorite addition to my iPhone), this photo turned into a bright, sunny piece of art.”
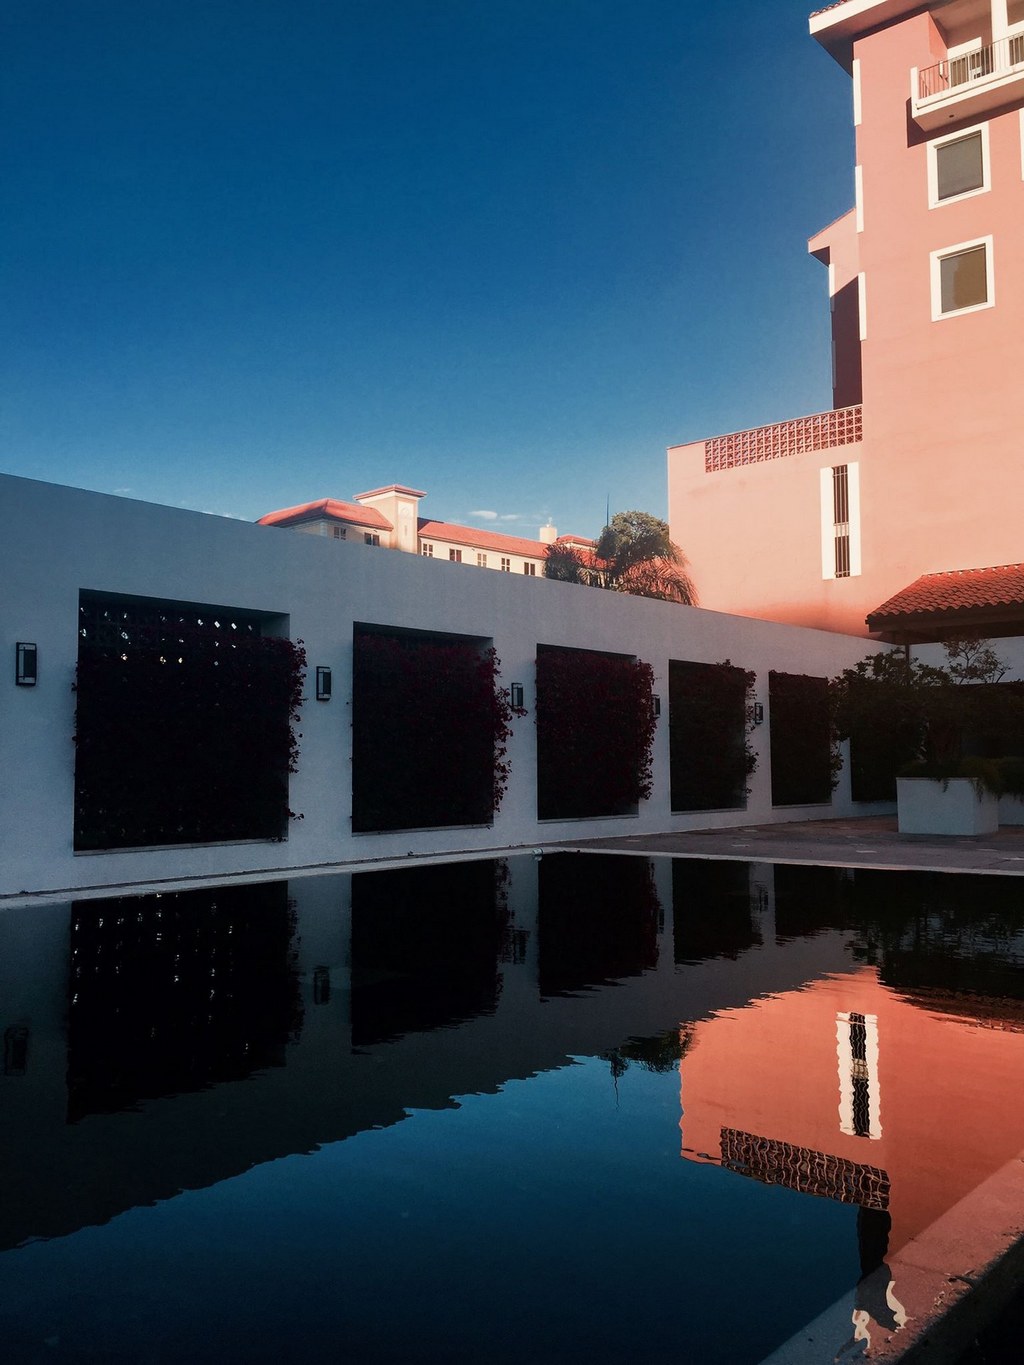
Take advantage of natural light: “Coral Gables is one of my favorite neighborhoods in Miami. It’s filled with quiet moments and old Spanish architecture. I love shooting in the late afternoon; the light always seems a little bit more majestic once it’s heading towards the sunset. I bumped the saturation up a bit, but Miami light is pretty wonderful on its own.”

 & Roaming Tips")


